Profile projector or optical measurement machine?
Whether upgrading your outdated profile projector or buying your first measurement instrument, this question is prevalent on any shopfloor.
I guess you already know profile projectors. Once you’re reacquainted with it, there’s little to learn.
It can be tempting to stick with what you know. There are fewer risks, less disruption and seamless integration. People are resistant to change, learning new software or interfaces can be daunting, and optical machines can get pretty technical, right?
.jpg)
But let’s look a little deeper.
Unless you want to use a projector for measuring the repeat components you were previously, the projector needs some technical understanding of metrology. All operators will need some training and experience to carry out the measurement consistently and accurately.
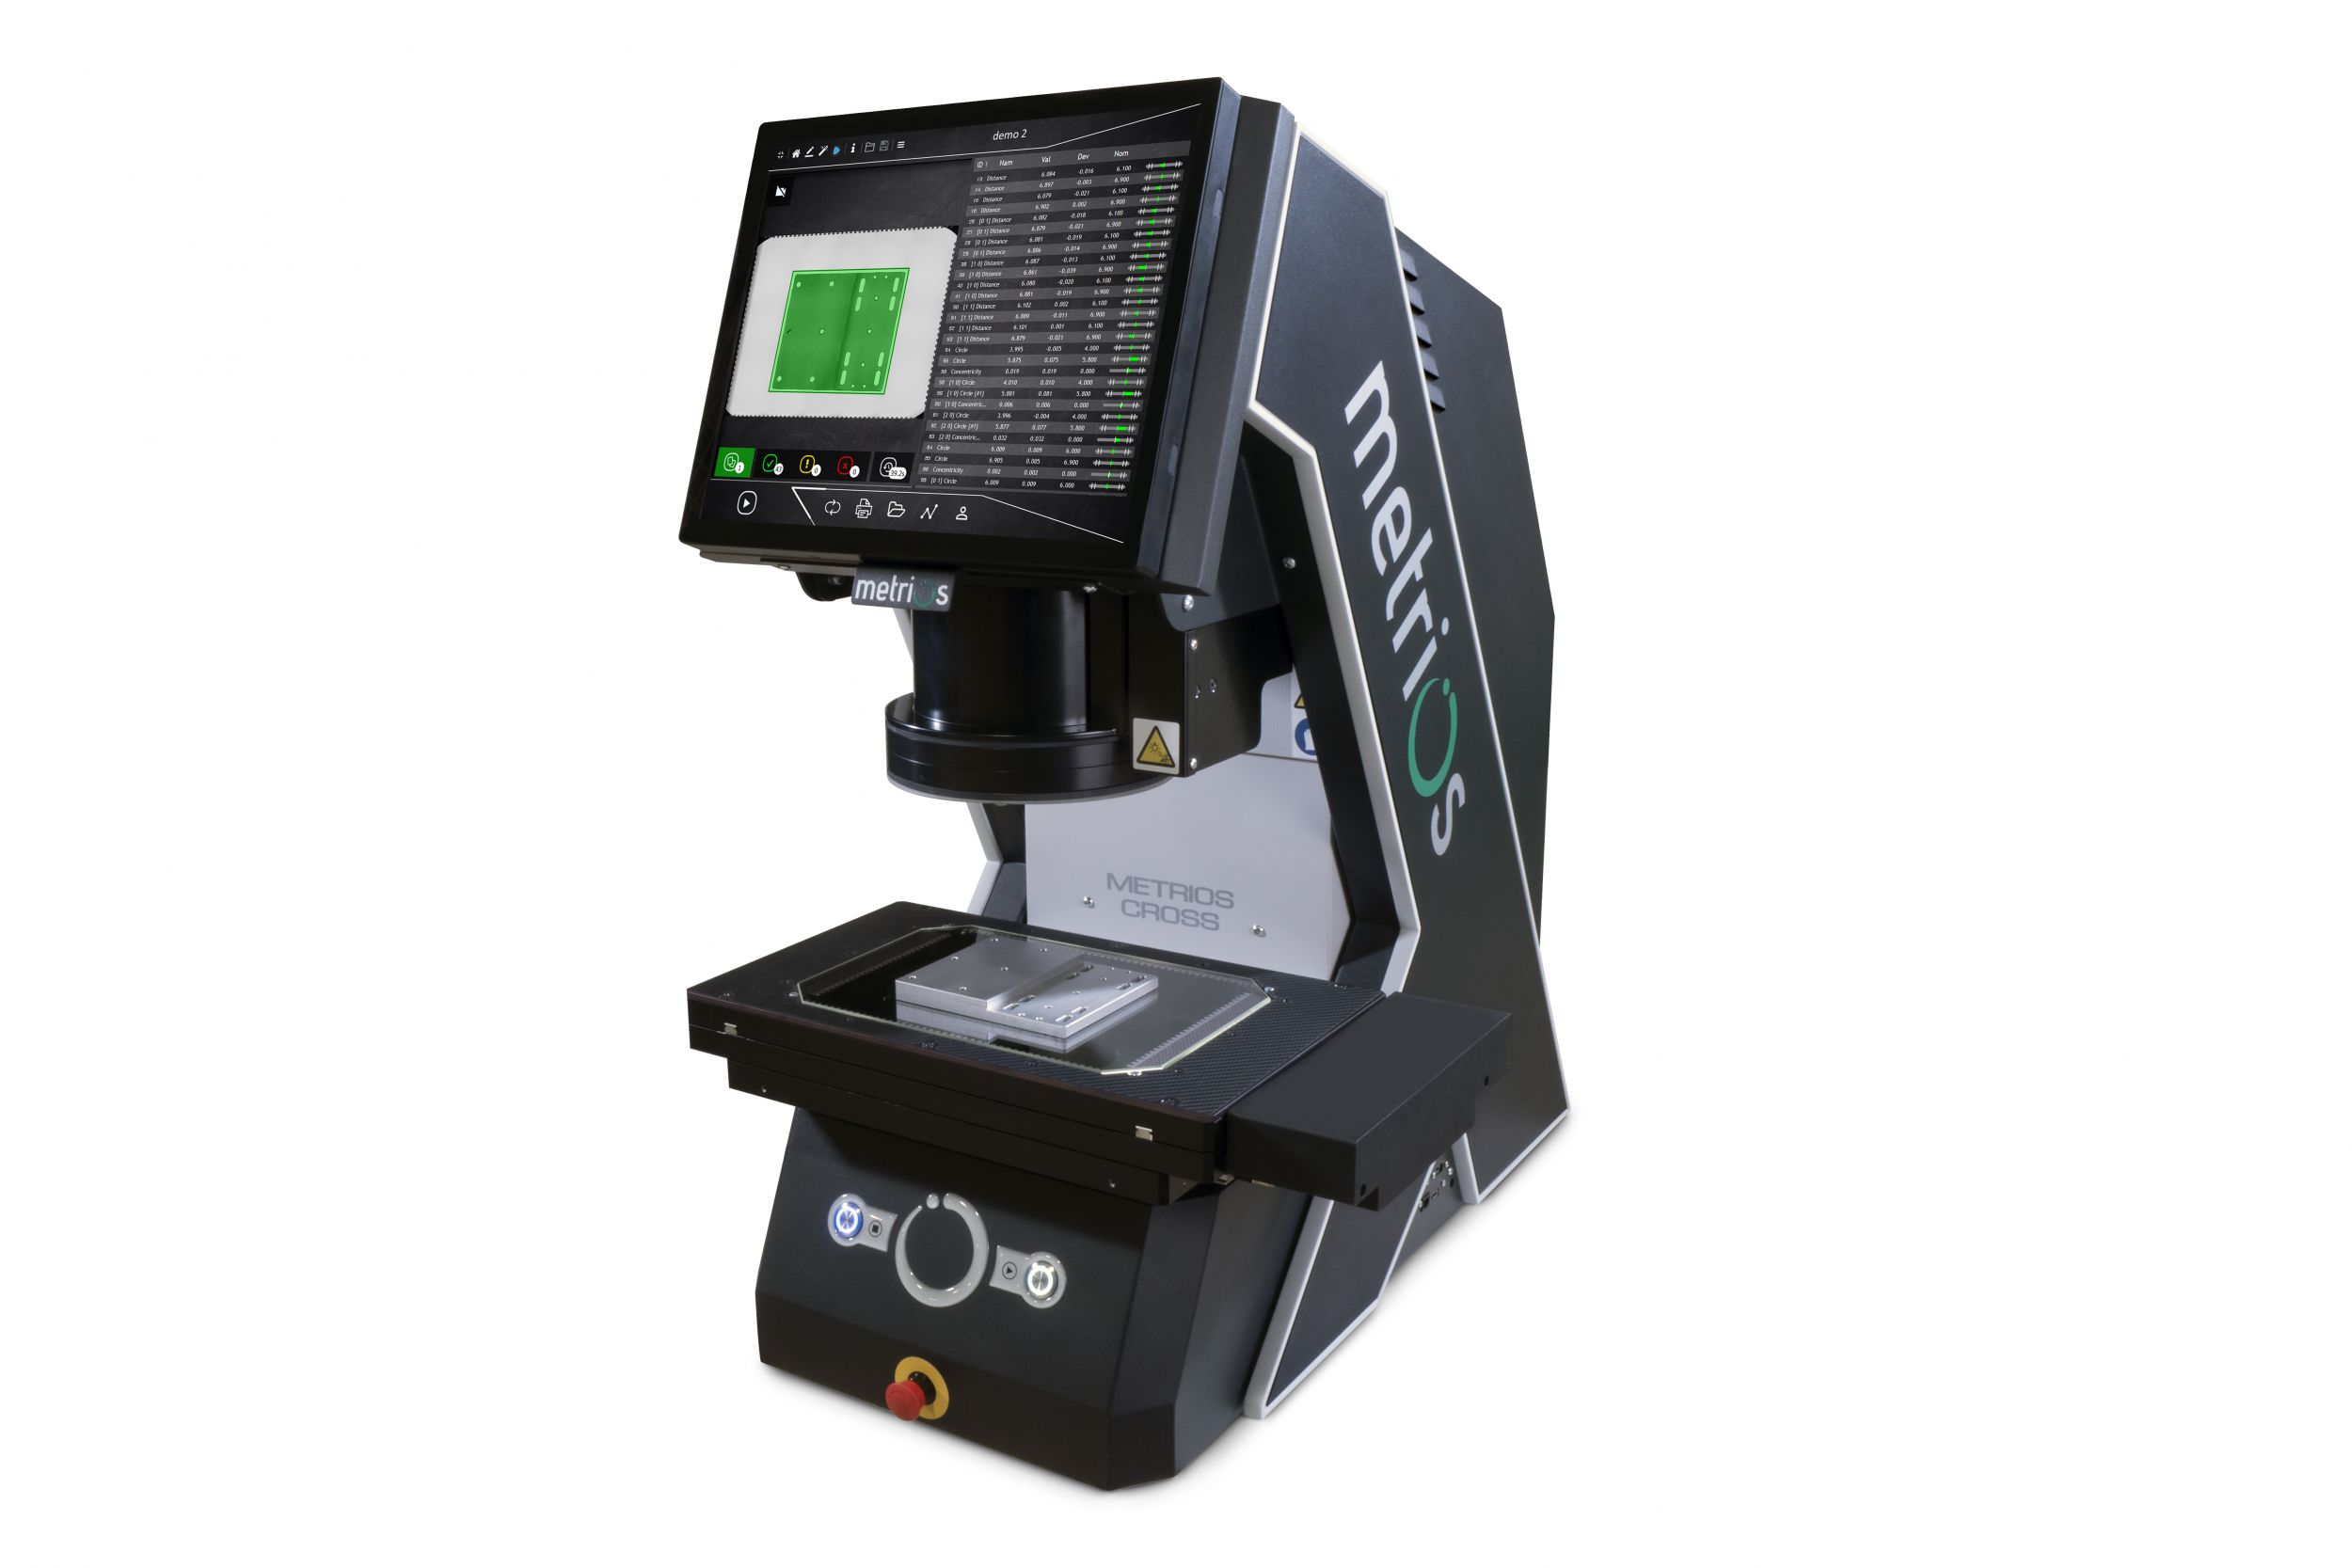
In this case, automatic optical machines come in to help. It’s true, programming the machine does require skill and experience. However, once the program is saved it is there for all future measurements. The other operators will only need to push a button to obtain the measurements initially programmed. Not only are you saving a lot of time in performing the measurements, but no training of personnel is required, and there is no risk of misinterpretation of the measurement system.
On a small shopfloor where the same engineer is measuring unique parts with minimal variation, the projector may seem the sensible option. If parts change or multiple operators are using the same machine to perform measurements, optical solutions are the winning choice.
How tight are your tolerances, is there decimal, centesimal, millesimal tolerance?
If your tolerances are within some tenths of a millimeter, both solutions may be adequate.
But what if you have parts with centesimal tolerances? Here, the profile projector will start to show its limits. Different operators will detect distinct variations in measurements. The operator could get tired, misjudge the data or input inaccurate figures. When so many variables are at risk of error, there is no guarantee that defective parts won’t leave the shopfloor.
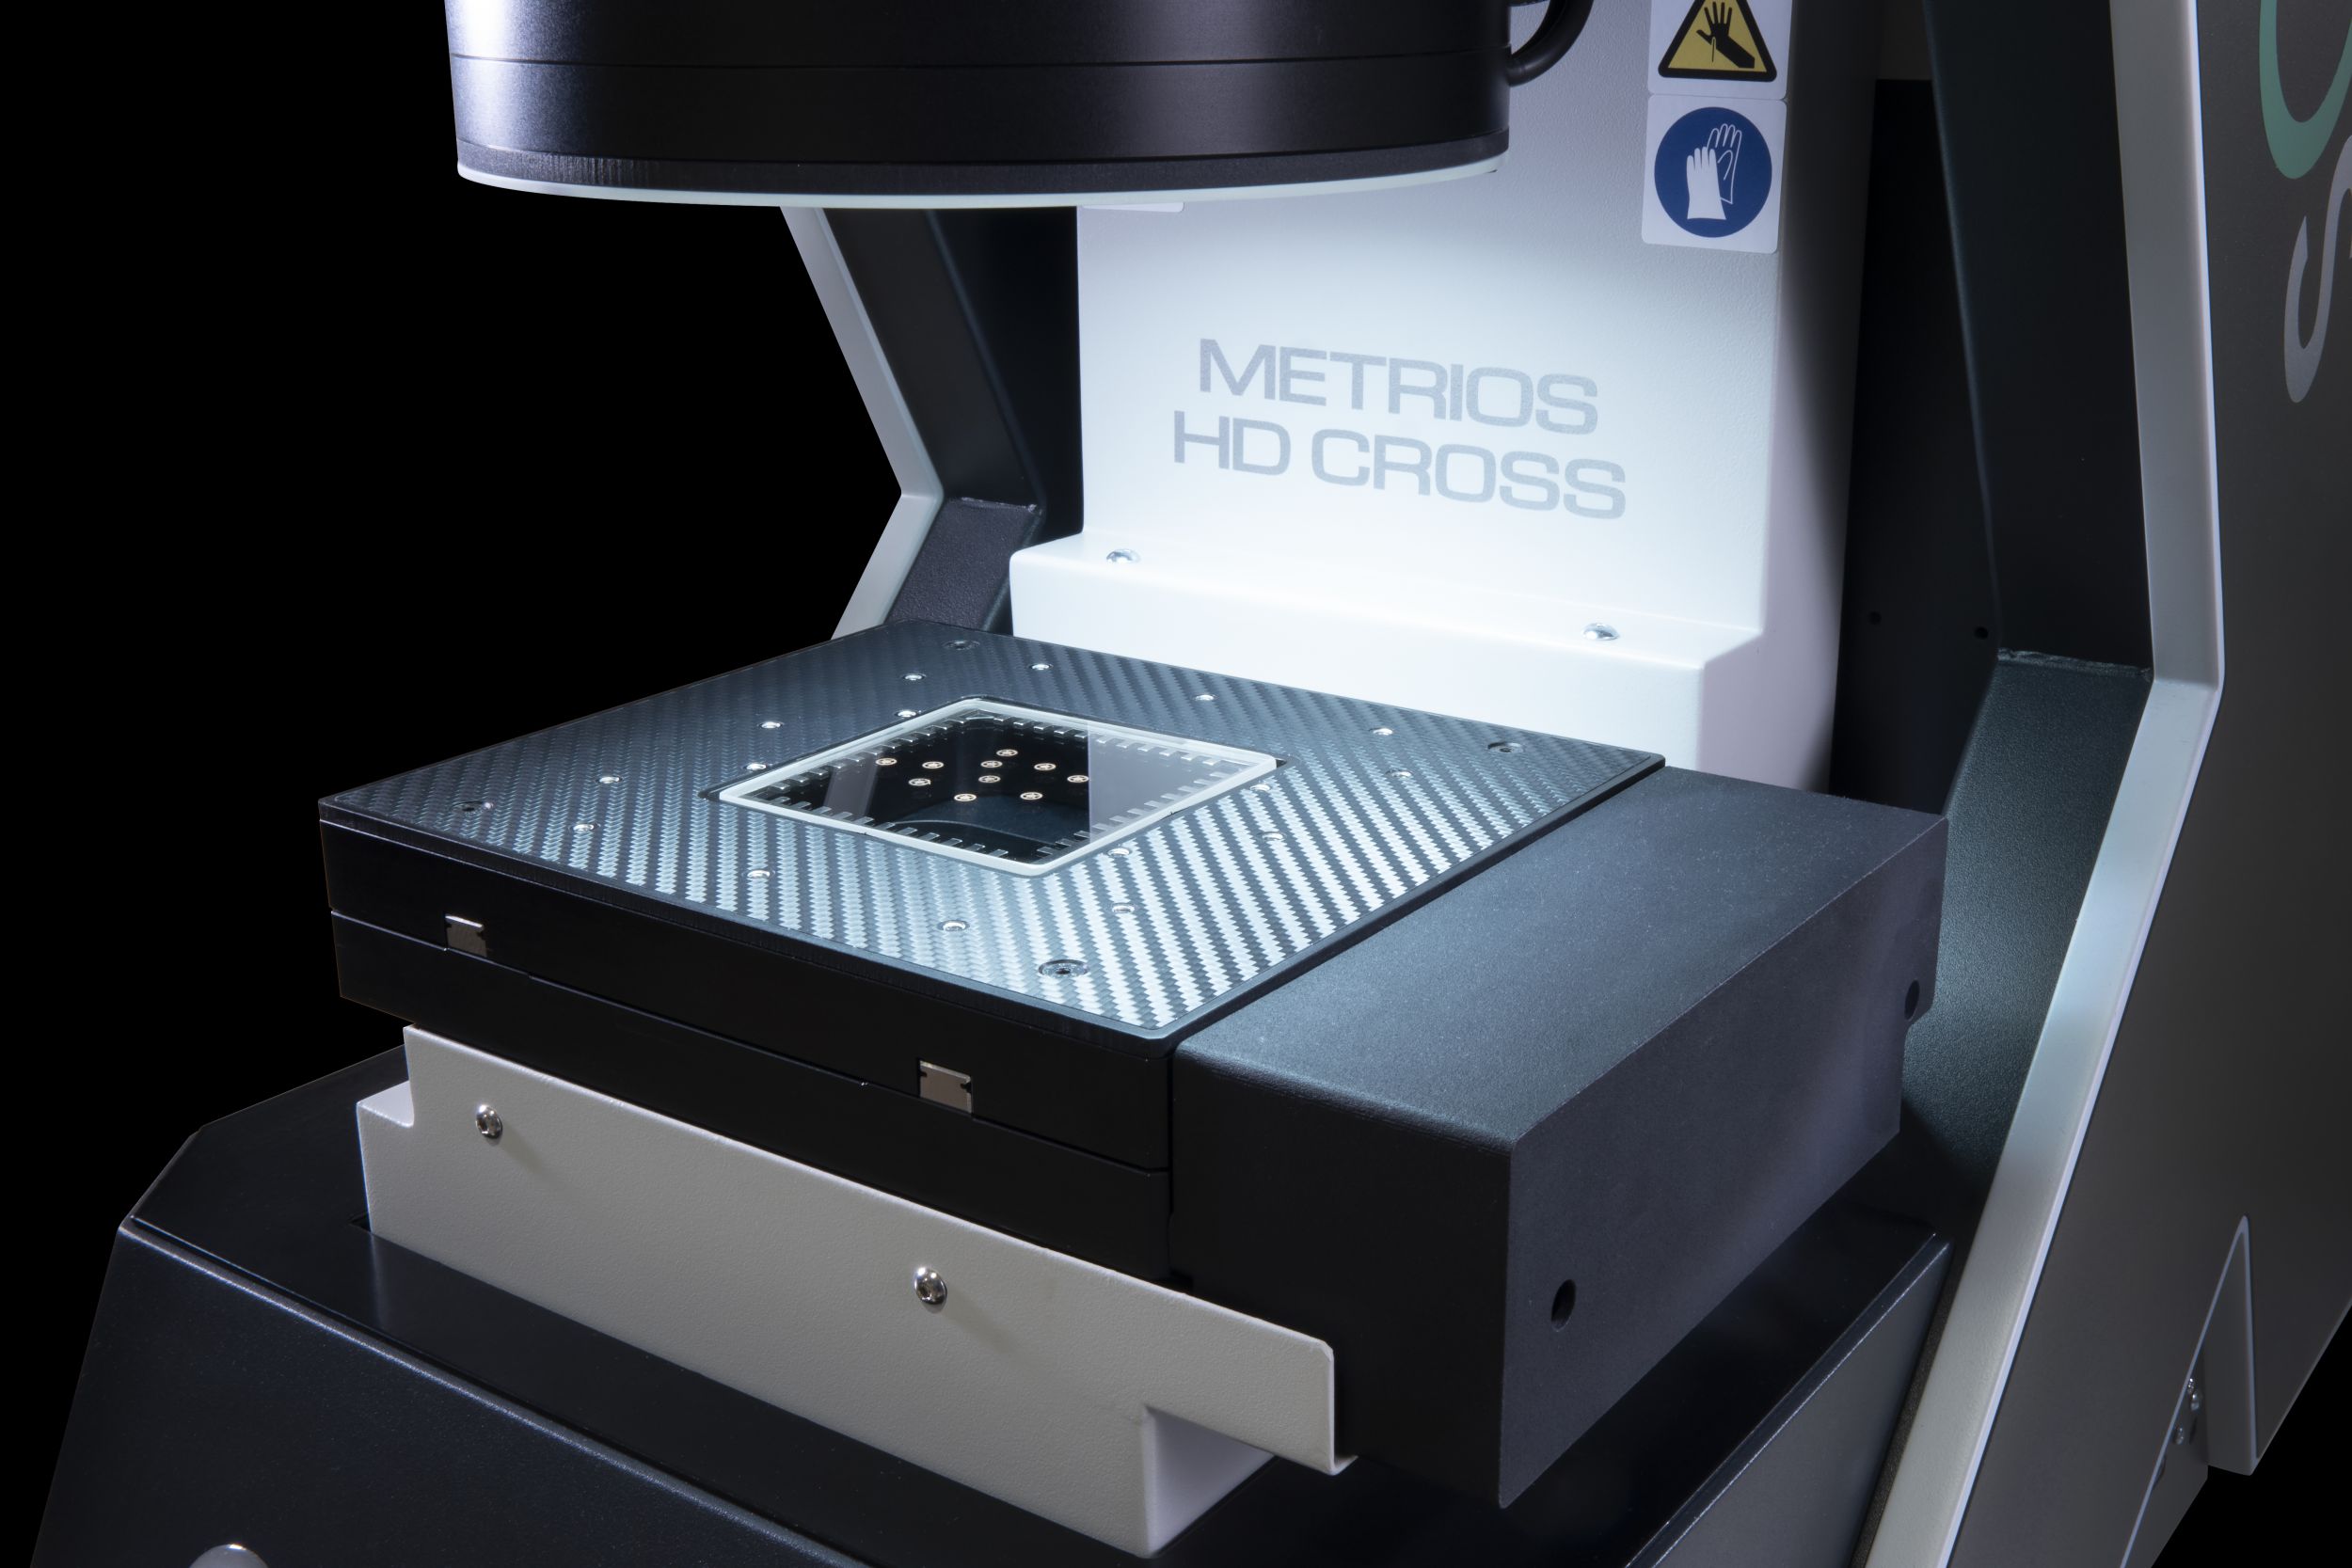
An optical measurement machine, in contrast, will eliminate subjectivity, while also offering higher measurement accuracy.
There’s a common misconception that optical solutions can’t be positioned on the shopfloor.
Historically this has always been correct. Over the past five years, optical machines have evolved to withstand harsh shopfloor environments without compromising accuracy.

The projector costs less than the automatic optical measurement machine!!
A reliable, high-quality projector will cost less than its optical counterpart. However, your business's reputation is priceless, the ROI on optical solutions is substantially greater than traditional methods thanks to reduced scrap, higher throughput, and increased capabilities.
And here we are, going back to step 1
If I only measure one part, then the projector will require ten minutes, just like any optical measurement machine. But if there is a large batch of the same part, then the optical measurement machine will transform the 10 minutes in 10 seconds after the program is saved.
Let’s consider one more thing: the profile projector is used to validate the accuracy of machines on the shop floor after re-calibration or for the first batch inspection after a new project commences.
In this case, the projector needs 30 minutes to perform the inspection, against 30-second seconds require by an automatic optical machine. In those 30 minutes, production is still.
How much do you estimate the hourly cost of a still production line?
Automatic optical machines offer real-time data; if parts are out of tolerance, you’ll know straight away so you can intervene and avoid costly mistakes in production. Not only does this substantially improve lead times, but it means you aren’t wasting money on scrap parts; your customers can rely on you to deliver right the first time, every time.


Ever heard of industry 4.0?
Last but not least, the optical measurement machine collates digital data.
They produce high-quality and comprehensive reports, can be connected to statistical software and the production MES.
When fully integrated, the optical measurement machine can also automatically correct the tools on your machines.

To conclude
Let’s sum up by saying that the projector is still a good instrument for small operations, where measurement is always carried out by that same person, with relatively low frequencies and non-strict tolerance.
Optical measurement machines win in high-volume environments, where clients require traceability, where CNC machines are employed, where batches are frequently replaced, and where the work focuses on small and medium production series.
Is there a solution everyone can agree with?
I think so. In today’s marketplace, there is no room for error when dealing with precise customer requirements. Time and accuracy are everything; to win new business and retain existing customers you must deliver accurate parts and demonstrate comprehensive capability consistently – this can only be achieved through optical measurement.
If you want to know more, download the guide "Traditional systems and optical machines compared".
It can be tempting to stick with what you know. There are fewer risks, less disruption and seamless integration. People are resistant to change, learning new software or interfaces can be daunting, and optical machines can get pretty technical, right?
.jpg)
But let’s look a little deeper.
Unless you want to use a projector for measuring the repeat components you were previously, the projector needs some technical understanding of metrology. All operators will need some training and experience to carry out the measurement consistently and accurately.
In this case, automatic optical machines come in to help. It’s true, programming the machine does require skill and experience. However, once the program is saved it is there for all future measurements. The other operators will only need to push a button to obtain the measurements initially programmed. Not only are you saving a lot of time in performing the measurements, but no training of personnel is required, and there is no risk of misinterpretation of the measurement system.
On a small shopfloor where the same engineer is measuring unique parts with minimal variation, the projector may seem the sensible option. If parts change or multiple operators are using the same machine to perform measurements, optical solutions are the winning choice.
How tight are your tolerances, is there decimal, centesimal, millesimal tolerance?
If your tolerances are within some tenths of a millimeter, both solutions may be adequate.
But what if you have parts with centesimal tolerances? Here, the profile projector will start to show its limits. Different operators will detect distinct variations in measurements. The operator could get tired, misjudge the data or input inaccurate figures. When so many variables are at risk of error, there is no guarantee that defective parts won’t leave the shopfloor.
An optical measurement machine, in contrast, will eliminate subjectivity, while also offering higher measurement accuracy.
There’s a common misconception that optical solutions can’t be positioned on the shopfloor.
Historically this has always been correct. Over the past five years, optical machines have evolved to withstand harsh shopfloor environments without compromising accuracy.

The projector costs less than the automatic optical measurement machine!!
A reliable, high-quality projector will cost less than its optical counterpart. However, your business's reputation is priceless, the ROI on optical solutions is substantially greater than traditional methods thanks to reduced scrap, higher throughput, and increased capabilities.
And here we are, going back to step 1
If I only measure one part, then the projector will require ten minutes, just like any optical measurement machine. But if there is a large batch of the same part, then the optical measurement machine will transform the 10 minutes in 10 seconds after the program is saved.
Let’s consider one more thing: the profile projector is used to validate the accuracy of machines on the shop floor after re-calibration or for the first batch inspection after a new project commences.
In this case, the projector needs 30 minutes to perform the inspection, against 30-second seconds require by an automatic optical machine. In those 30 minutes, production is still.
How much do you estimate the hourly cost of a still production line?
Automatic optical machines offer real-time data; if parts are out of tolerance, you’ll know straight away so you can intervene and avoid costly mistakes in production. Not only does this substantially improve lead times, but it means you aren’t wasting money on scrap parts; your customers can rely on you to deliver right the first time, every time.


Ever heard of industry 4.0?
Last but not least, the optical measurement machine collates digital data.
They produce high-quality and comprehensive reports, can be connected to statistical software and the production MES.
When fully integrated, the optical measurement machine can also automatically correct the tools on your machines.

To conclude
Let’s sum up by saying that the projector is still a good instrument for small operations, where measurement is always carried out by that same person, with relatively low frequencies and non-strict tolerance.
Optical measurement machines win in high-volume environments, where clients require traceability, where CNC machines are employed, where batches are frequently replaced, and where the work focuses on small and medium production series.
Is there a solution everyone can agree with?
I think so. In today’s marketplace, there is no room for error when dealing with precise customer requirements. Time and accuracy are everything; to win new business and retain existing customers you must deliver accurate parts and demonstrate comprehensive capability consistently – this can only be achieved through optical measurement.
If you want to know more, download the guide "Traditional systems and optical machines compared".
